Buried Bloodline is the insanely good Exotic Sidearm only received from the Destiny 2 Warlord’s Ruin Dungeon. Getting the Catalyst is tough, but it’s worth it to make Buried Bloodline even better.
What is the Buried Bloodline Catalyst in Destiny 2?
Unlike other Catalysts, the Buried Bloodline Catalyst in Destiny 2 is 100% worth it. The weapon’s perks give you health on kills and multiple final blows give you Devour. The Catalyst makes every single round fired from Buried Bloodline while you have Devour Weaken enemies. It’s really good.
First, you need to get Buried Bloodline which isn’t easy. We have a guide to help you get Buried Bloodline, but it unfortunately comes down to weekly RNG. Second, you need to complete the In the Shadow of the Mountain quest which requires you to farm Dark Ether Tincture, acquire Blighted Wishing Glass from bosses and chests, and collect all Hefnd’s Bones.
Once you have Buried Bloodline and In the Shadow of the Mountain is complete, you can start the puzzle required to get the Buried Bloodline Catalyst. It’s a three-part puzzle with a boss at the end. Don’t worry, I’ll help you through it.
Destiny 2 Buried Bloodline Catalyst: How to complete the prison puzzle
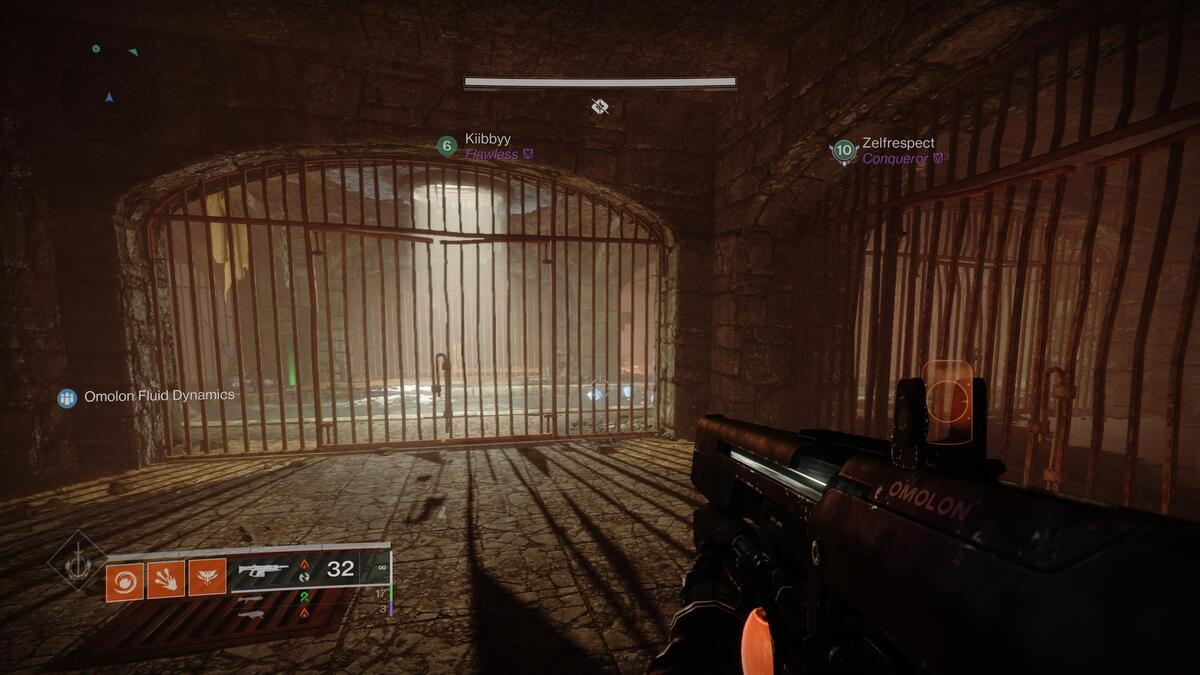
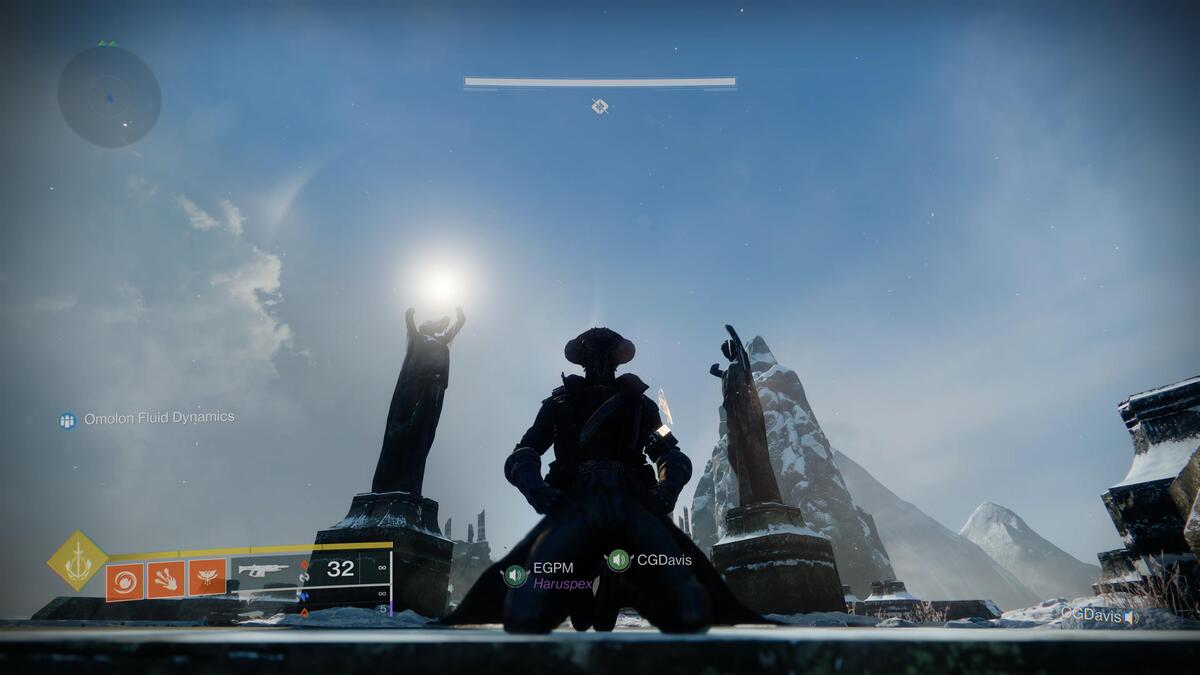
The first puzzle you need to complete is found in the jail, so beat the first boss and get here. After getting out of the prison, follow the river to the gate and you’ll see a Taken Blight. Shoot this with Buried Bloodline and you’ll see a few torches light up. There are four torches in total and the order is always random.
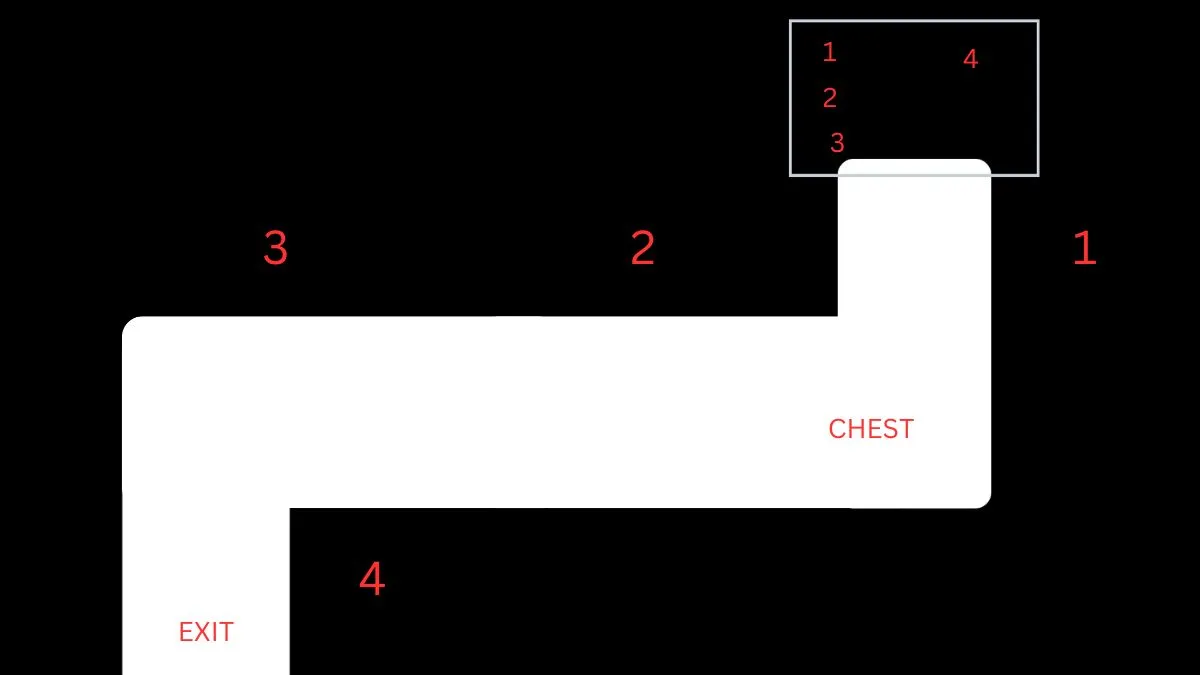
After shooting the Taken Blight, you’ll see four Taken Totems in four cells. The torches correspond to the Taken Totems as they do in the image I created above (excuse my crude illustration skills).
So if torch two and four light you, you need to stand next to the Taken Totem in the corner cell by the chest and the corner cell by the exit until they light up. After the Imminent Wish buff counts down, if you’ve done it wrong, you’ll need to shoot the Taken Blight again and try again, but if you’ve done it right, you’ll see a message reading, “An unspoken wish is silenced. Buried Bloodline clicks audibly.” You can now move onto the next puzzle.
Destiny 2 Buried Bloodline Catalyst: How to complete the bridge puzzle
The second puzzle is located just before entering the sewer on the bridge section. First, clear out all the adds in the area. Then, return to the start of the bridge and you’ll see the Taken Blight up and to the left hugging the keep.
After shooting the Taken Blight, you’ll have the same Imminent Wish, torch, and Taken Totem puzzle before you. This one is more straightforward because the five torches run left to right and pair up with the Taken Totems left to right.
For example, if torch one three and five are lit, you need to stand next to the Taken Totem nearest to the bridge, the Taken Totem directly in the middle, and the Taken Totem on the far right. If you get it correct, you’ll get the same message, if you get it wrong, try again. Next puzzle.
Destiny 2 Buried Bloodline Catalyst: How to complete the stone door puzzle
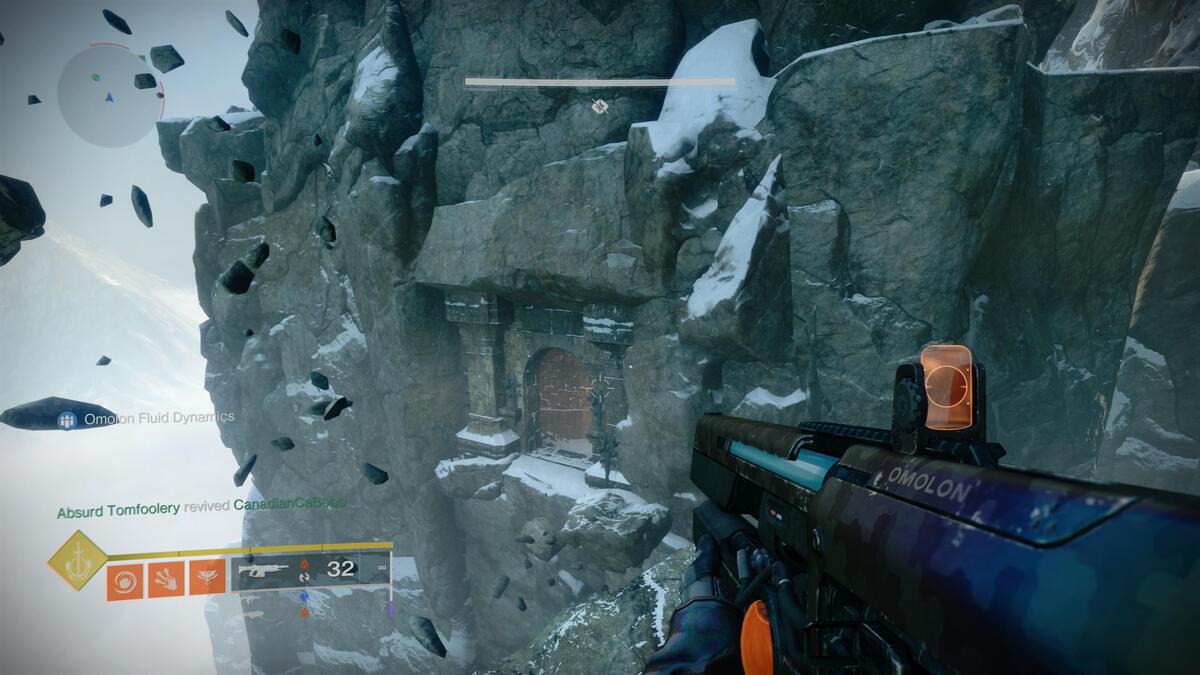
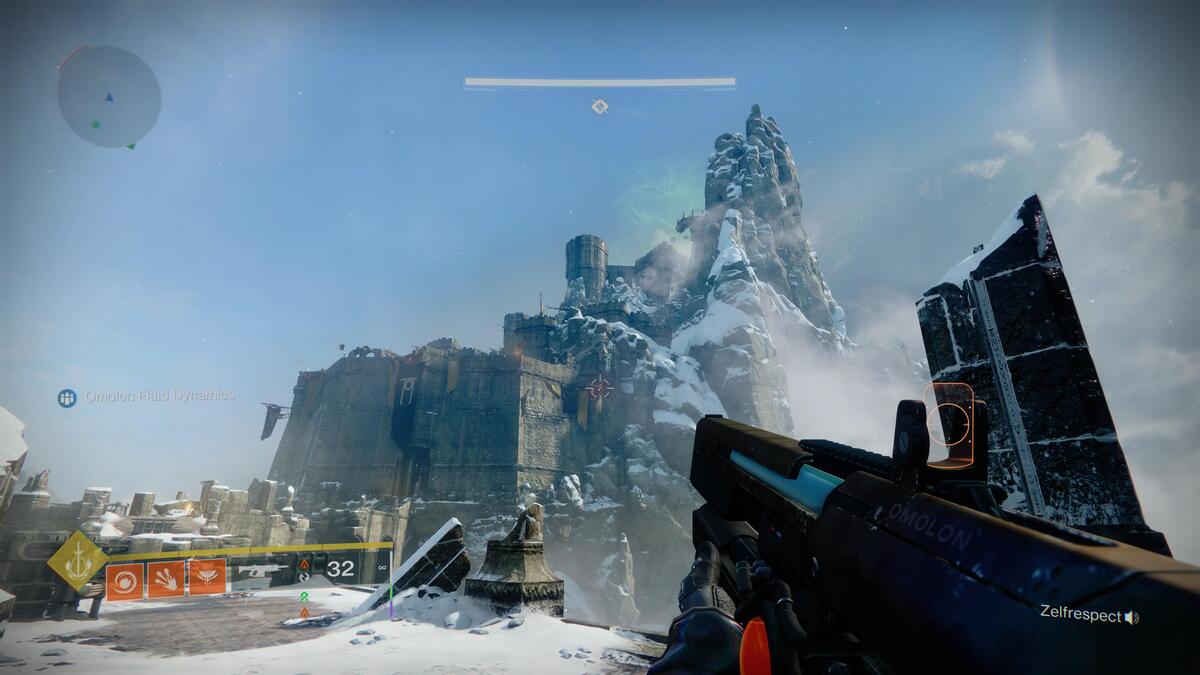
The last puzzle for the Buried Bloodline Catalyst is at the mountainous spire location with stone doors spread out and a Taken Blight in the middle. The Taken Blight you need to shoot for this puzzle is found inside the stone door on the left side.
There are four torches here and they are around the middle stone door. The order is one to four from left to right. Like the bridge puzzle, they line up with the Taken Totems that go left to right.
Take some time to familiarize yourself with this area because it can be hard to find the Taken Totems since they are on top of the mountainous spires. One is on the top left mountainous spire, two is on the edge between one and three, three is on the floating rock near the Taken Blight in the middle, and four is on the right next to the door on the right. Complete it and move on.
Related: How to get and level up Dragon’s Breath Exotic Catalyst in Destiny 2
Destiny 2 Buried Bloodline Catalyst: How to defeat Primeval Thressia
Lastly, you need to get to the spire that leads to the final boss. In the center at the base of the spire is a glowing white ball. Interact with it to open the Cairn Chamber Gateway.
Here, you’ll see a chamber and a Taken witch named Primeval Thressia, Font of Blight will spawn. The same mechanic you’ve been doing to solve the puzzles is how you start the DPS phase.
In the center of the room around the pile of bones, you’ll see three torches on the left and three torches on the right. In the stage, you’ll see three Taken Totems on the left and three Taken Totems on the right. From left to right, the torches go three, two, one, and from back to front, the Taken Totems go one, two, three — that’s how they correspond.
From here, all you need to do is read the torches correctly and activate the Taken Totems correctly. After you do that, you’ll start a DPS phase on Primeval Thressia. Rinse and repeat this process until Primeval Thressia is defeated and you’ll get a chest on the left but more importantly, you’ll get the Buried Bloodline Catalyst.
- SEO Powered Content & PR Distribution. Get Amplified Today.
- PlatoData.Network Vertical Generative Ai. Empower Yourself. Access Here.
- PlatoAiStream. Web3 Intelligence. Knowledge Amplified. Access Here.
- PlatoESG. Carbon, CleanTech, Energy, Environment, Solar, Waste Management. Access Here.
- PlatoHealth. Biotech and Clinical Trials Intelligence. Access Here.
- Source: https://www.pcinvasion.com/how-to-get-the-buried-bloodline-catalyst-in-destiny-2-warlords-ruin/

